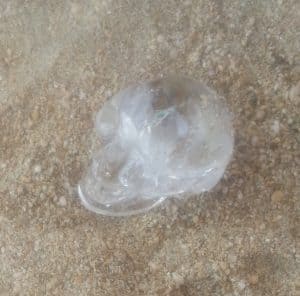
Crystal Skull Guardian:The Benefits
Each crystal skull holds an indispensable fragment of a cosmic message – a beacon of wisdom from ancient civilisations intended to guide humanity through great periods of change and challenge.

I have worked with crystals for over thirty years, but combining them within a resin case to make Crystal Orgone devices was a new and exciting experience for me. I certainly was not aware that things can go seriously wrong during the resin curing process; so imagine my horror when it did! Although it is embarrassing I have decided to show you my error in the hope that it will help other resin crafters to avoid the same issue.
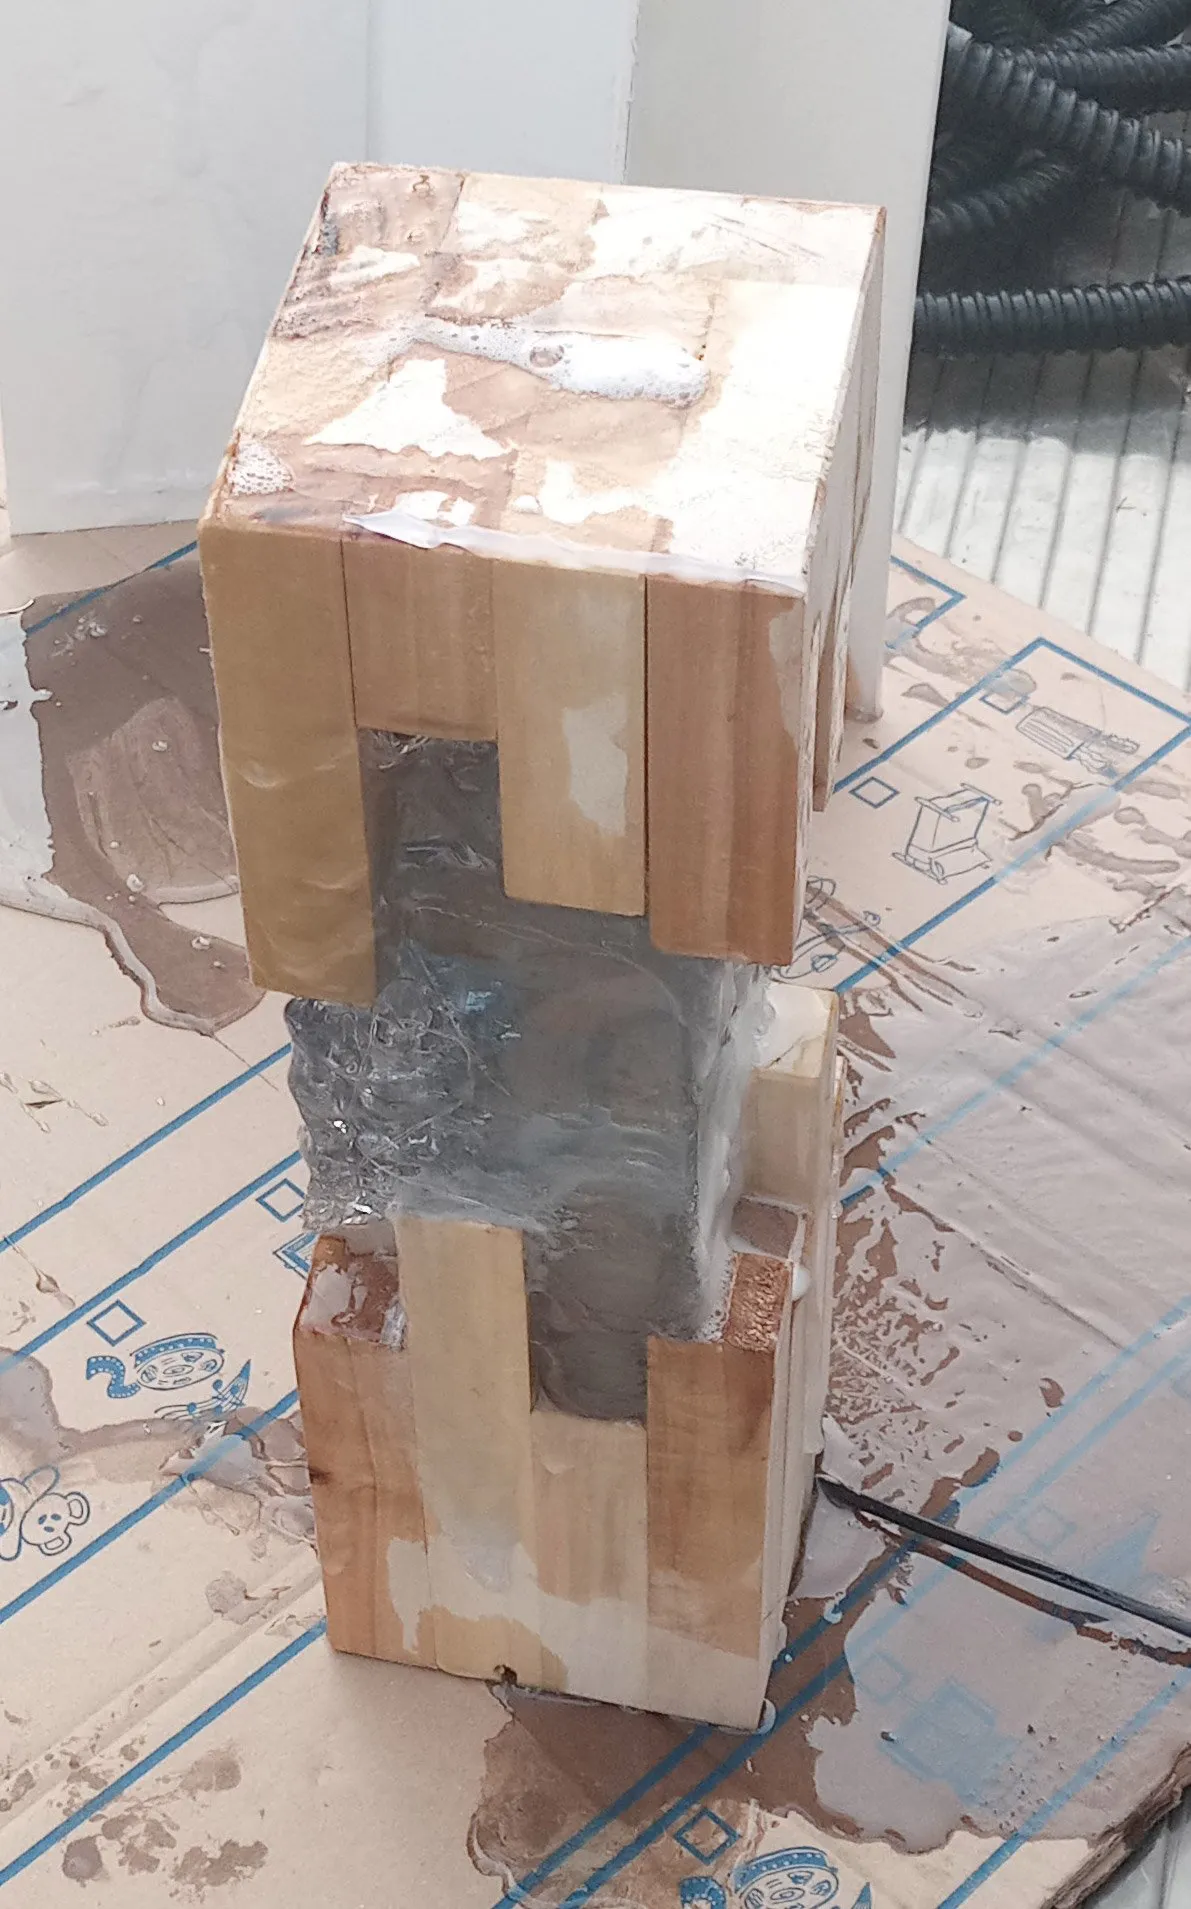
Resin can be both a tricky and unforgiving medium to work with which is why the resin crafter does everything possible to ensure a crystal clear and blemish-free end product: getting the right ambient air temperature, ensuring the correct resin to hardener ratio, careful mixing (without adding more air), correct pouring technique, and safe removal of surface air bubbles. Once the crafter has done all of that, the only thing left to do is allow the resin to harden/cure within the mould. However, because resin is tricky, as mentioned, when the mould is removed the crafter may be faced with air bubbles and resin rippling that cannot be corrected once the resin has hardened. These blemishes are not harmful, they only affect the look of the project, and do not lessen the vibrational energy of crystals and metals included within the resin. I and (I imagine) many resin crafters have experienced these pesky resin blemishes, but imagine my surprise, when during my first experience of making a resin lamp, I saw the resin start to bubble, smoke and flow onto the studio bench! I was worried that it would catch fire so immediately took it outside. The video and picture do not really do the smoking mess that I created justice, but they do give you a rough idea:
As you can see from the image below, the resin has leaked out of the mould I had put the project into, flowing over the wooden lamp blocks at the top and sides and dripping out everywhere. The resin (in the middle) has warped and become opaque, however you just make out the lights that were placed inside.
 Once I realised that the whole thing was not going to blow up or catch fire, I calmed down, undertook research, and identified that what had happened to my resin lamp project was that the resin got too hot, which caused an ‘exothermic’ reaction. Exotherm is a chemical reaction that occurs when the resin starts to cure. This chemical reaction generates heat, which feeds upon itself; the hotter it gets, the faster the reaction and on it goes unless you cool it down, quickly.
Why did this ‘exothermic’ reaction happen with my lamp project? It is all to do with pot life and volume of pour, which are topics best left to experts (see Mike Barnard’s online article ‘Controlling Exotherm’ – The Heat Reaction of Epoxy Cure – Epoxyworks), but essentially my error was to make a batch of resin and hardener that had too great a volume, hence it got hot and started to react quickly in a dangerous way.
I am happy to say I learnt a lot about resin that day and glad that no one was hurt during the incident. I hope that by publicly admitting my embarrassing resin crafting experience I can save other resin crafters from the same fate! In conclusion, I would suggest that anyone interested in embarking on any form of resin crafting seek out relevant articles and review other people’s experiences, before tackling their own projects.
Each crystal skull holds an indispensable fragment of a cosmic message – a beacon of wisdom from ancient civilisations intended to guide humanity through great periods of change and challenge.
Step into a world of tranquillity and spiritual balance with
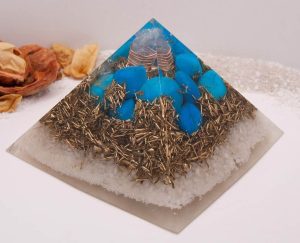
Orgone/Orgonite Blue Howlite Pyramid works to you lower your stress,
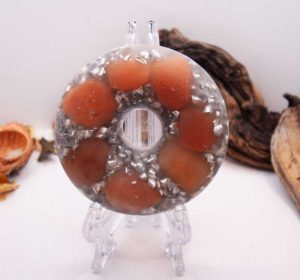
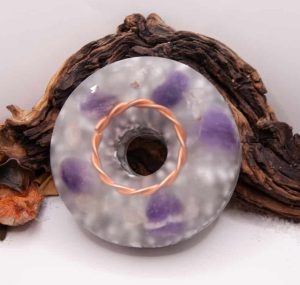
Sacred Geometry Peach Aventurine Orgone Torus: Metaphysical Properties of the
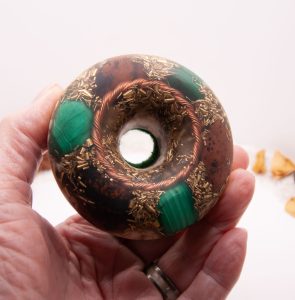
Sacred Geometry Orgone Torus: Metaphysical Properties of the Crystals &